Quick Overview
There are many situations that require modifying a feature in a FEM model, for example, changing the diameter of a hole, introducing a notch in a model, etc. However, all these changes require the CAD geometry to be available, which might not always be the case. This Tips & Trick shows how to use NX to create CAD geometry from a FEM part, so that it can be operated on using regular CAD modeling commands. In this example, we will be creating a part file, but the workflow also applies if a part already exists.

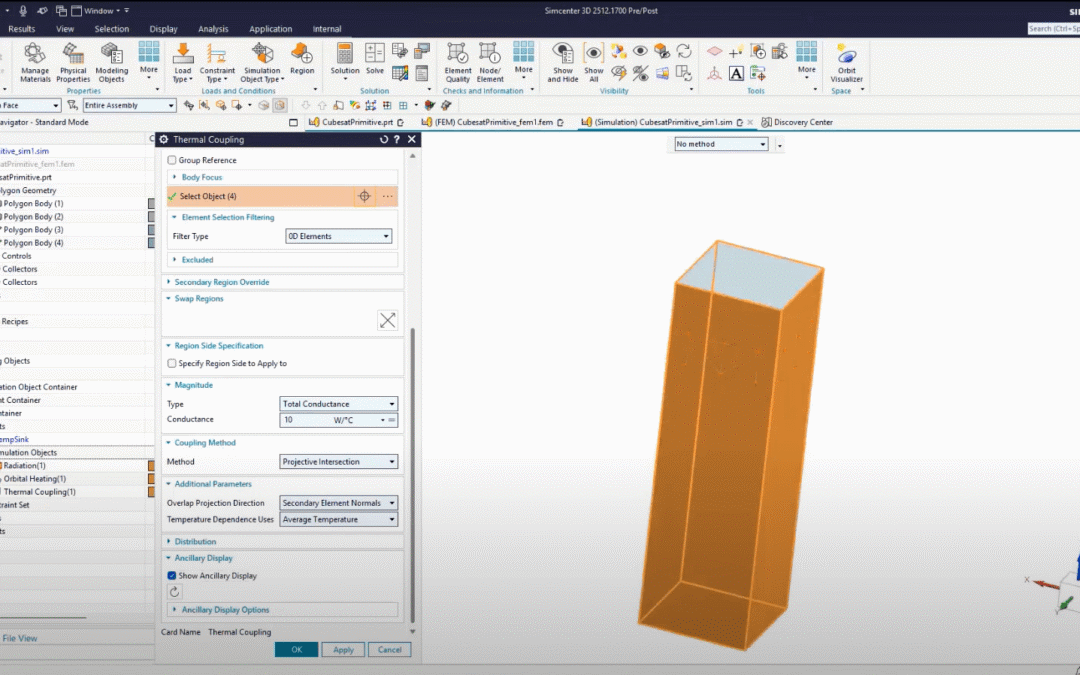
Figure 1. Modifying a FEM model without having the CAD part.
Steps
Let’s assume that it is intended to introduce a notch into a plate for which only the FEM is available and does not contain polygon geometry.
1. Create polygon face from Mesh
Make sure the FEM is the displayed part, and then go to Home tab and in the Polygon Geometry group click on More and then select Face from Mesh.

Figure 2. Create a face from a Mesh.
In the Face from Mesh dialog and under the Type group, select the type of elements (either 2D elements or the faces of 3D elements), which are going to be used to create the face. When the elements required for defining the face are selected, click OK. As a result, the face will be added to the Sim Navigator as a new Polygon Body.

Figure 3. Select elements to define a face.
2- Create an Idealized Part
If an idealized part is already available in the model skip this step. In the Sim Navigator, right click on the FEM and select Replace Ideal/Master Part.

Figure 4. Create an Idealized Part.
Under the CAD Part group, browse for a Part file (you may create an empty part file and use it here), make sure to check the Create Idealized Part, and then click OK.

Figure 5. Create an Idealized Part.
3- Add the geometry to I-part
In the sim Navigator, right click on the I-part and select Make Work Part, while the FEM Part is still the Displayed Part.

Figure 6. Make I-part the work Part.
From the menu, select Insert > Model Preparation > Surface > From Polygon Face command.

Figure 7. Select the face to be added to I-part.
In the Create Face dialog, select the face that is created in Step 1 and click OK. As a result, the sheet body is added to the I-part.

Figure 8. Add the face to I-part.
Step 4. Modifying the geometry
In the Sim Navigator, right click on the I-part and select Make Displayed Part. The sheet body can now be edited like a regular CAD model.